How to Remove Acrylic or Gel Nails


How to Remove Acrylic or Gel Nails

How to remove Acrylic or Gel nail extensions

It pains us to say, it may get to the point where you need these instructions on how to remove acrylic or gel nails. So we put together some instructions for you…

  • Buff or file off the top layer of the enhancements. You may want to shorten the nails with a nail file first. This will speed up the process
  • Emerge nails into a bowl of acetone, and leave to soak. Pure acetone will work faster than standard nail polish remover. (You can buy pure acetone online to avoid going out to the chemist.)
  • It isn’t a quick process and could take quite some time for the nails to start to meltdown, so it will need a little patience. Placing your bowl of acetone into a bowl of warm water whilst you soak can speed up the process.
  • Gently push the acrylic or gel from the nail plate using something with a flat edge. Preferably with an orangewood stick or cuticle pusher, however, the back of a spoon will do the trick! You will need to repeat this a few times until the product is completely removed. You can use your nail file to gently file away any remaining residue.

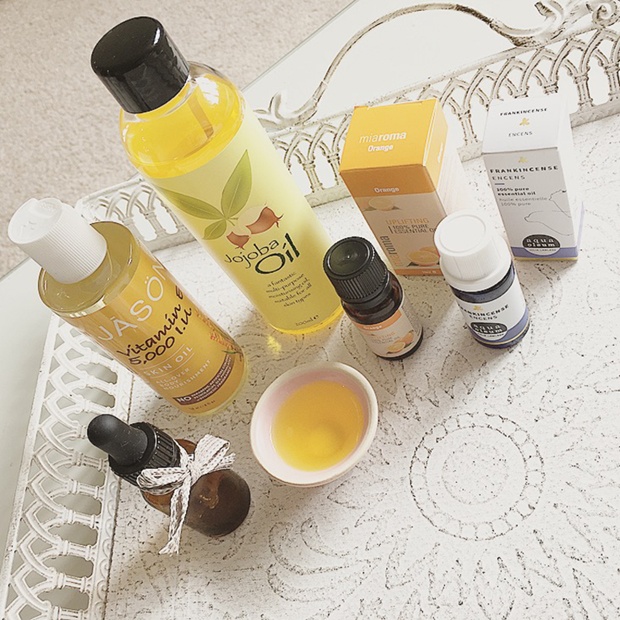
Your nails are likely to feel dry and brittle and your hands will have a white powder residue on them from the acetone. Apply a moisturiser or cuticle oil (coconut oil will do) and if you have one, apply a nail strengthening product regularly. We recommend OPI nail Envy.

Good Luck! And if you need any help please comment below or follow us on Facebook for more tips and advice

 https://www.facebook.com/rebecca.jaynes1

If you’re feeling fed up and wanting a little pick me up, you may want to have a browse through our treatment menu to see which treatments you’re going to treat yourself too when all of this is over.

Cute Cuticles- DIY


Cute Cuticles

How to make your own, homemade cuticle oil

I find, especially during the winter months, my cuticles can get so dry and dehydrated. I spend time on having my nails beautifully manicured, or take the time to pick the perfect colour, but seem to totally neglect my cuticles. When my cuticles look dry and scruffy, it doesn’t do my nails justice one bit.

Although we do sell our chosen cuticle oil in salon, if you have the time, there’s something really special about creating your own homemade version, and it is so easy and in expensive. It can also make a perfect gift idea if you’re strapped for cash, or if you fancy putting a bit of love into your gift ideas.

So here is our blog on how to make your very own cuticle oil.

You will need-

  • 20 drops of frankincense essential oil
  • 20 drops of orange essential oil
  • 4 tablespoons of Jojoba oil
  • 1 tablespoon of vitamin E oil
  • A small, dark tinted glass bottle with dropper
  • Pretty ribbon or accessories to decorate your bottle

Why we chose these oils in particular-

  • Frankincense oil– promotes cellular health, as well as calms and soothes the skin. It also has a high vibrational aroma, which helps to relax and balance mood swings. One of it’s most popular uses is to apply a couple of drops to your finger nails to help strengthen your nails. Which is why it is a perfect ingredient for our homemade cuticle oil.
  • Orange essential oil– not only does it smell amazing and has an uplifting effect on your senses, but this oil has many properties, including being an anti-inflammatory, an anti-depressant, diuretic tonic and many more. If you have any cracks or cuts around your cuticles, orange essential oil can help avoid bacterial or fungal infections occurring, due to it’s antiseptic properties. It is also very good for maintaining healthy, smooth and glamorous skin.
  • Jojoba oil-This is our chosen carrier oil. When using essential oils on the skin, it is essential that you mix them with a carrier oil, diluting the potency of the oil to avoid adverse reactions. Jojoba oil, unlike most vegetable oils, closely resembles human sebum, so it’s uses and benefits to the skin are amazing. Since it has a very low melting point, it practically remains in the liquid state all of the time, making it a perfect carrier for our cuticle oil. (no messing around having to heat the bottle before you use it, as with coconut oil).
  • Vitamin E oil– we chose to add this as a little extra loving for your cuticles. Vitamin E is a nutrient to the skin, it’s also an antioxidant that helps neutralize free radicals which damage cells. Although it wouldn’t be super beneficial on it’s owns, teamed with these other powerful ingredients, it will have a fabulous effect on the skin around your nails.

And the method-

Simply mix all of the above ingredients into a small bowl, stir, and use your dropper from the small glass bottle to transport the mixed oil from your bowl into your bottle. Tie a nice ribbon around the bottle and label it if you wish, and Voila! You have yourself a powerful, beautiful smelling little cuticle oil, that will last up to 2 years if its stored in a cool dark place.

Feel free to swap out the orange essential oil for lavender or lemon, whichever you like the smell of the most.

We hope you enjoy making this handy cuticle oil, and would absolutely love to see your creations, or hear any of your own recipes for making your own skin care!

RJ Team xxxx