How to strengthen your natural nails
A question we’re getting asked a lot right now- How to strengthen your natural nails. So we’ve put together a little list of nail rescue products if you want to take care of your natural nails and give them a little TLC during the lockdown.
The Best website to get these from seem to be Nail Polish Direct. But we will pop all the links in this post. These aren’t the cheapest options out there but they are the ones we use in the salon so we can fully vouch for them! We’ll do some research on some cheaper alternatives for our next post also.
Step by Step Guide
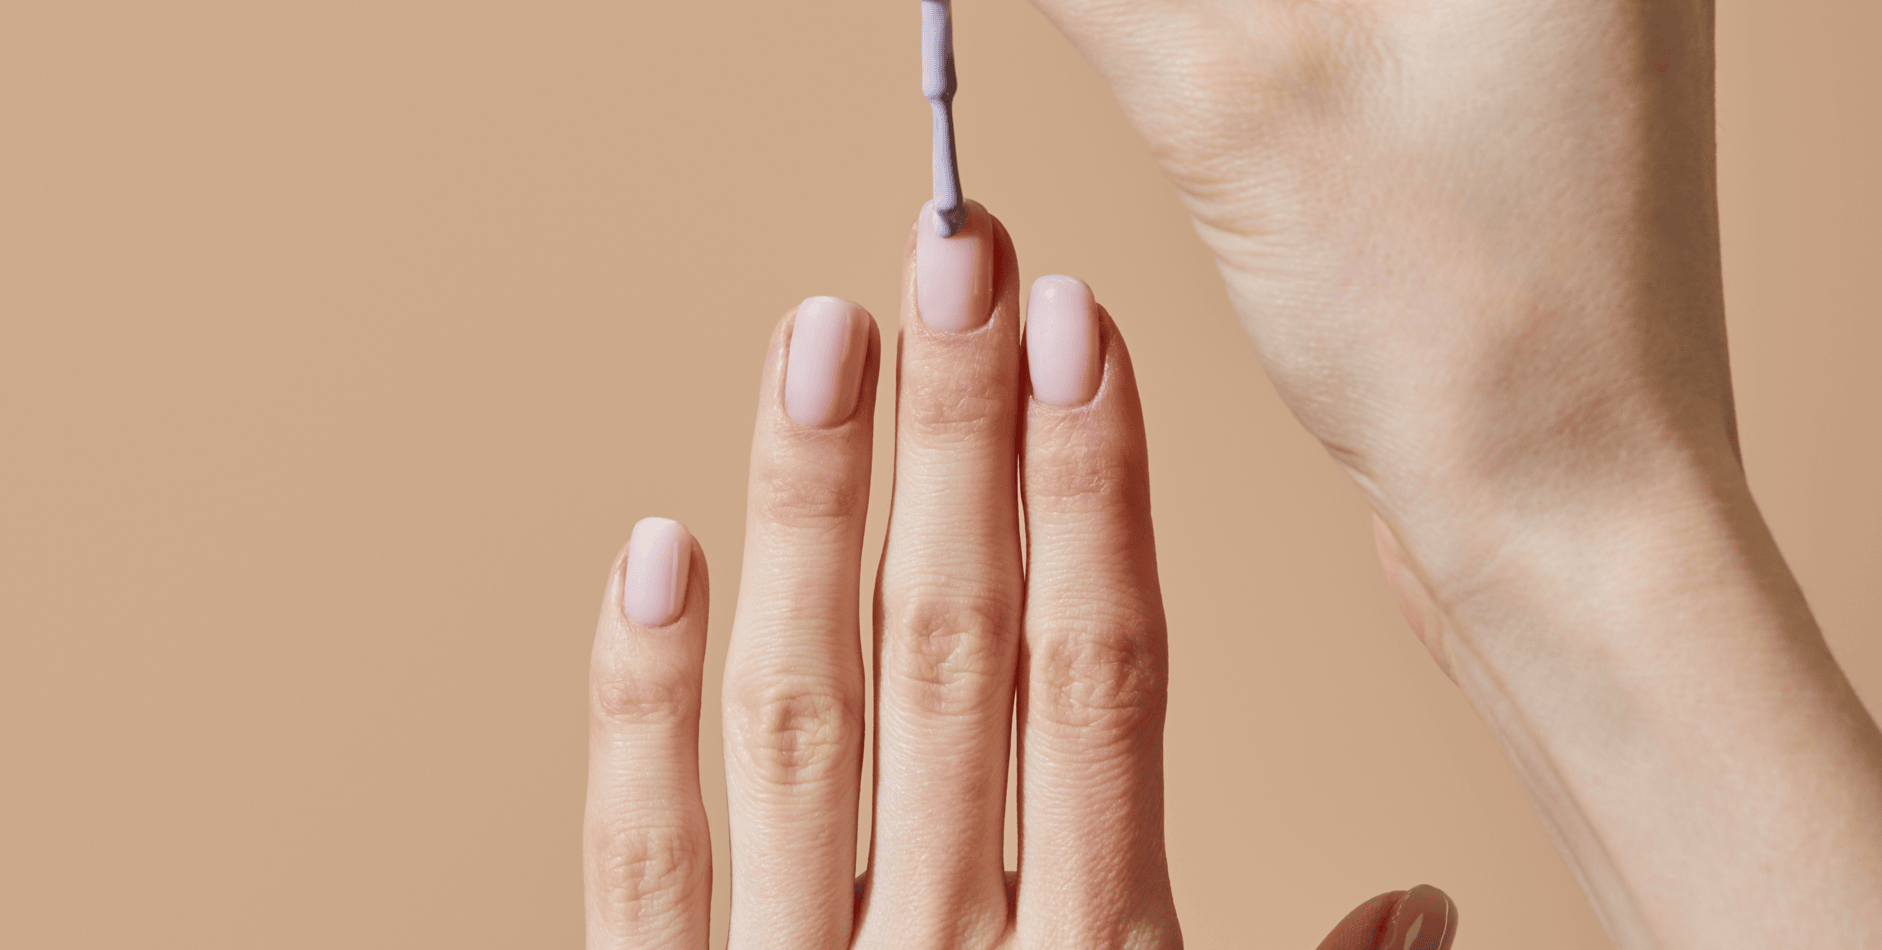
Firstly, you’ll want a good nail strengthener. Your nails will feel quite strange for the first few days after removing your acrylic or gel. And depending on how careful you have been whilst removing, they could be a little tender. This is quite normal, so try not to worry. We love the OPI Nail Envy and yes this stuff really does work! Next, you might want to use a ridge filler. Removing your own nails from home isn’t the easiest thing to do, and you may be left with some ridges 😥 This makes us so sad!
So this OPI ridge filler from the Ultimate Shine collection will be the perfect remedy.
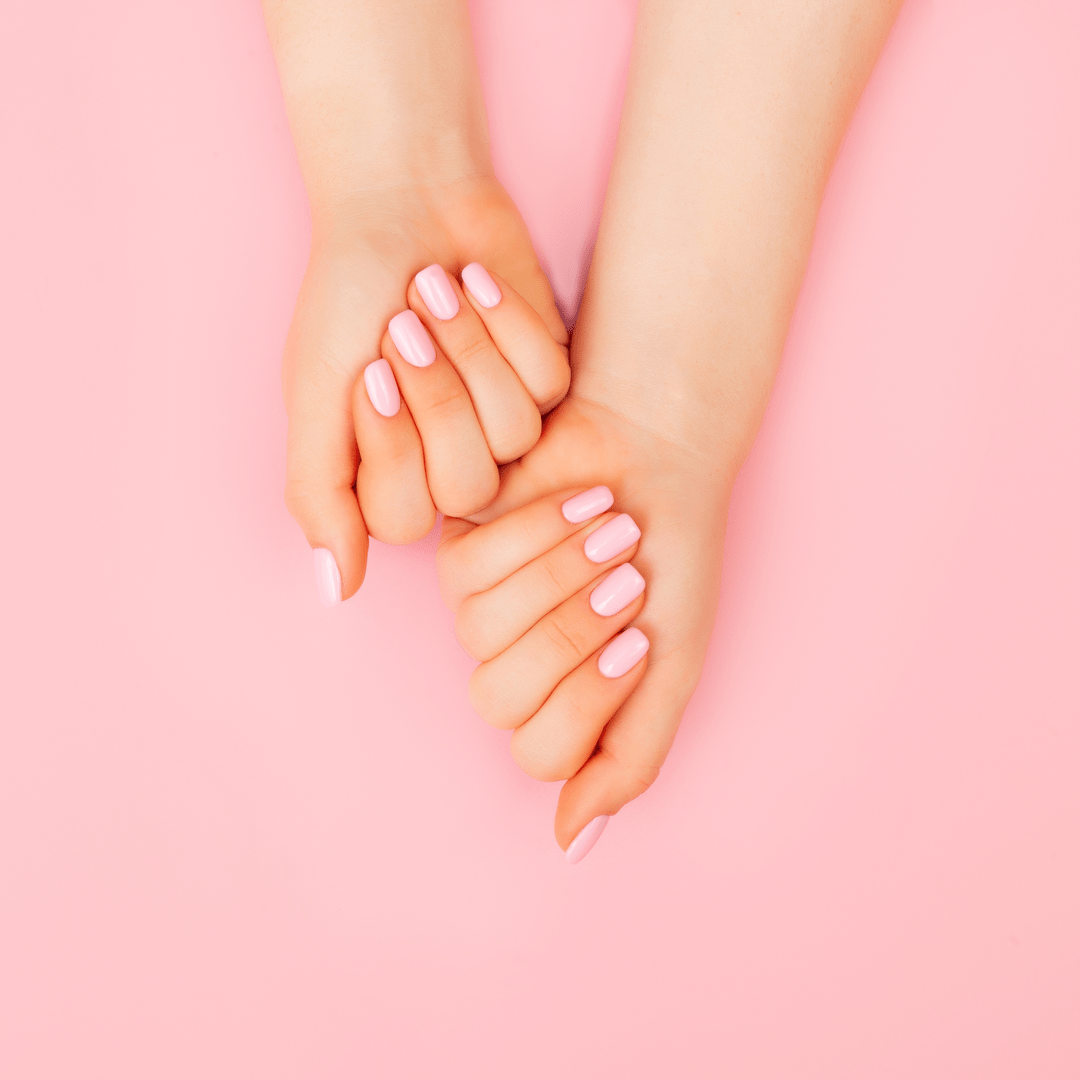
Now time for some colour! If you dare 😂 There are tons of gorgeous OPI colours on this website. We recommend the Infinite shine range as they are long-lasting, quick-drying and sooo nice!
If you don’t want to wear a colour skip straight to the last step, which is to apply the Top Coat. Now, this is our ultimate hack! The OPI Infinite Shine Primer (not topcoat) is AMAZING as a Topcoat. It keeps your colour on for twice as long! It’s also super shiny.
We recommend reapplying your Nail Envy every couple of days to keep building strength.
Then remove everything once a week and start again.
Top Tip-Don’t rush. Leave plenty of time between applying each layer. I like to do one hand at a time so that I always have one free hand because I can’t bear the thought of not doing anything for more than 5 minutes 😂
We can not wait to see you back again to make your nails feel beautiful again. If you have any questions at all feel free to contact