The Carbon Laser Facial: Everything you need to know
Looking for a way to achieve smooth, radiant skin with minimal downtime? The Carbon Laser Facial, also known as the Hollywood Peel, is a powerful yet non-invasive skin treatment that deeply cleanses, exfoliates, and rejuvenates your skin. This advanced laser treatment is particularly effective for acne-prone skin, enlarged pores, and dull complexions, making it a go-to facial for those who want instant and long-term skin benefits. So here is everything you need to know about a Carbon Laser facial.
What is a Carbon Laser Facial?
The Carbon Laser Facial is a skincare treatment that combines medical-grade liquid carbon with laser technology to eliminate dead skin cells, clear pores, and stimulate collagen production. It’s an ideal solution for improving:
- Oily or acne-prone skin
- Large pores and blackheads
- Uneven skin tone and dullness
- Fine lines and mild wrinkles
- Sun damage and pigmentation
Key Benefits of the Carbon Laser Facial
This facial provides multiple skincare benefits, making it one of the most popular laser treatments available today:
Deep Pore Cleansing – The carbon mask acts like a magnet, drawing out oil, dirt, and toxins from the pores for a purified, refreshed complexion.
Exfoliation & Skin Brightening – The laser effectively removes dead skin cells and excess oil, revealing smoother, more even-toned skin.
Acne & Oil Control – By regulating sebum production and reducing inflammation, this facial helps to prevent breakouts and blackheads.
Minimised Pores – The treatment tightens the skin and removes built-up debris, visibly reducing pore size.
Increased Collagen Production – The laser stimulates collagen renewal, promoting firmer, younger-looking skin over time.
Quick & Zero Downtime – Unlike harsher treatments, this facial is gentle yet effective, allowing you to return to your routine immediately.
What to Expect During the Carbon Laser Facial
A Carbon Laser Facial typically takes 30 to 45 minutes, making it a convenient lunchtime treatment. Here’s a step-by-step breakdown:
- Cleansing: The skin is thoroughly cleansed to remove any makeup, oil, or impurities.
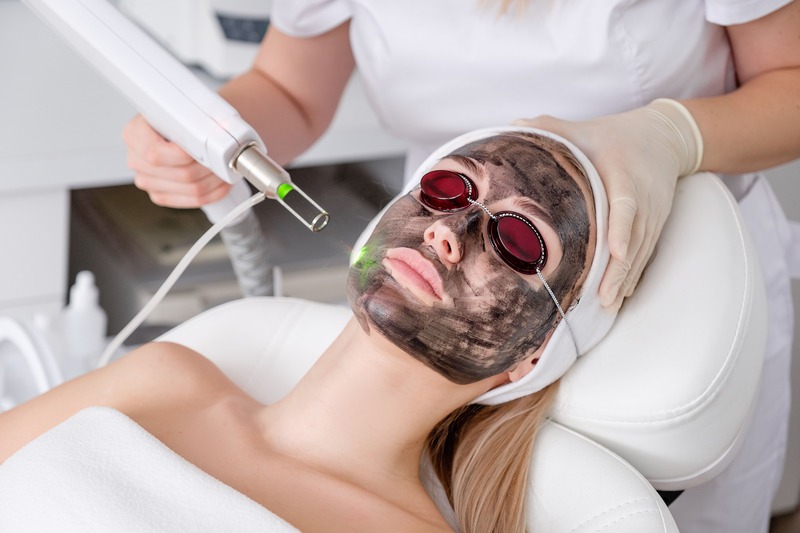
- Application of Carbon Solution: A thin layer of liquid carbon is applied to the face. The carbon particles absorb excess oil and dirt deep within the pores.
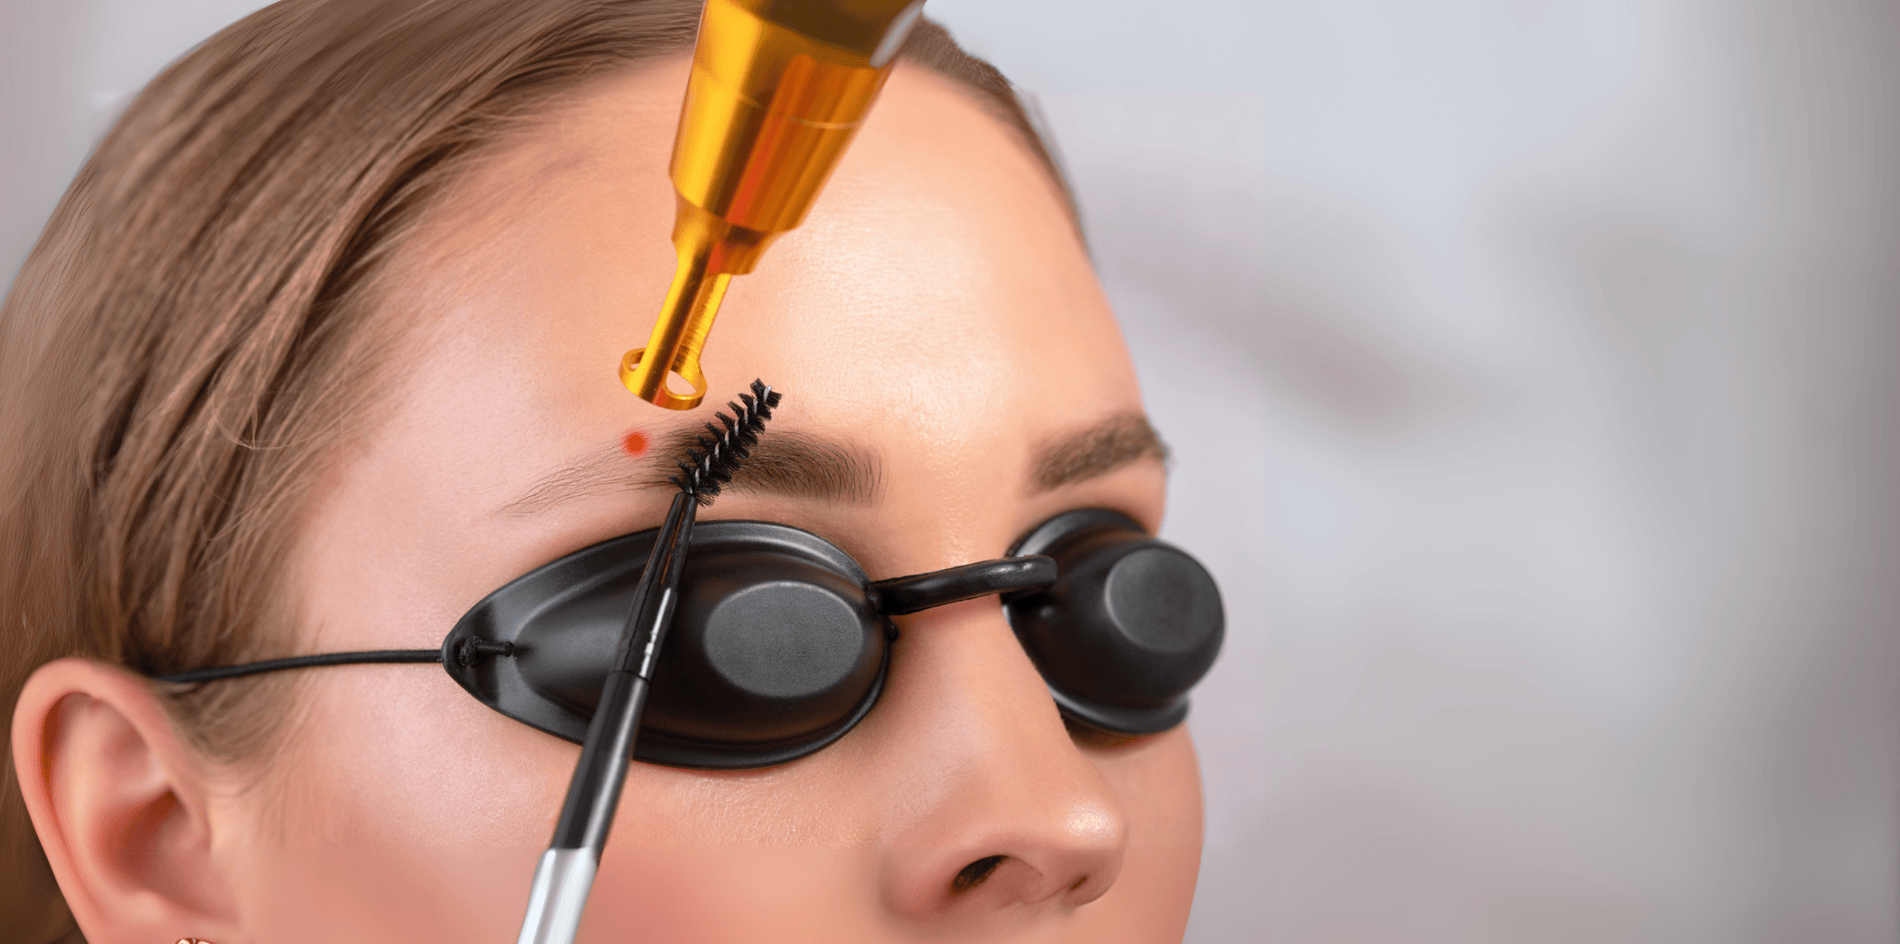
- Laser Activation: A specialized laser passes over the skin, gently heating and breaking down the carbon particles, exfoliating the skin, and triggering collagen production.
- Cooling & Hydration: The treatment is completed with a soothing serum and SPF application to protect and nourish the skin.
Pre & Post-Treatment Care
To achieve the best results and protect your skin, follow these essential before and aftercare tips:
Before Your Carbon Laser Facial:
- Avoid excessive sun exposure and tanning beds for at least one week before your session.
- Refrain from using active skincare ingredients like retinol, AHAs, or BHAs for 3 to 5 days before your appointment.
- Keep your skin hydrated and free from heavy makeup on the day of the treatment.
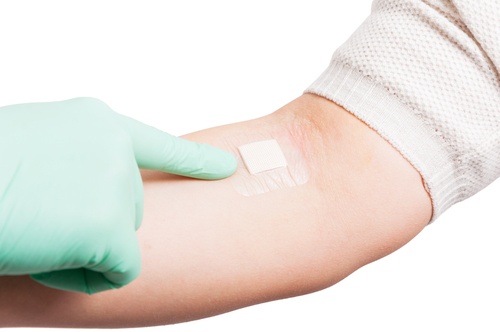
- Let your skincare specialist know if you have any active skin conditions or are on medications that affect skin sensitivity.
Aftercare Tips for the Best Results:
- Apply broad-spectrum SPF 30+ daily to protect your skin from UV damage.
- Avoid direct sunlight, steam rooms, and excessive heat exposure for at least 48 hours.
- Use a gentle cleanser and hydrating moisturiser to maintain skin balance.
- Skip harsh exfoliants and active skincare ingredients for 3 to 5 days post-treatment.
- Keep your skin well-hydrated by drinking plenty of water.
Who is the Carbon Laser Facial Suitable For?
This treatment is safe for most skin types, including sensitive skin. It is also a great treatment for those with active acne, however may not be recommended for individuals with severe acne, active infections, or extremely dry skin. A consultation with a skincare expert can help determine whether this facial is the right choice for your skin concerns.
How Many Sessions Are Needed for Best Results?
While one session will leave your skin instantly glowing, a course of 4 to 6 treatments spaced 2 to 4 weeks apart is ideal for long-term skin improvements, including collagen stimulation and a reduction in pigmentation.
Book Your Carbon Laser Facial Today!
If you’re ready to reveal a clearer, brighter, and more youthful complexion, book your Carbon Laser Facial with us today! For any additional questions, our skincare experts are happy to help guide you through the process.
Contact us now to schedule your appointment and experience the ultimate skin refresh!

